What to Make This week
Keep an eye out for new videos from the BigOven Kitchen every week.
Mini Breakfast Bundt Cakes
We love a sweet treat for breakfast, and these mini strawberry bundt cakes are a step up from your classic morning pastry. A little bit muffin, a little bit pancake, and JUST sweet enough, you can change the base cake mix to make these any flavor you like! Top with fresh fruit and some homemade whipped cream for the perfect addition to your breakfast table.
Recent Videos See All


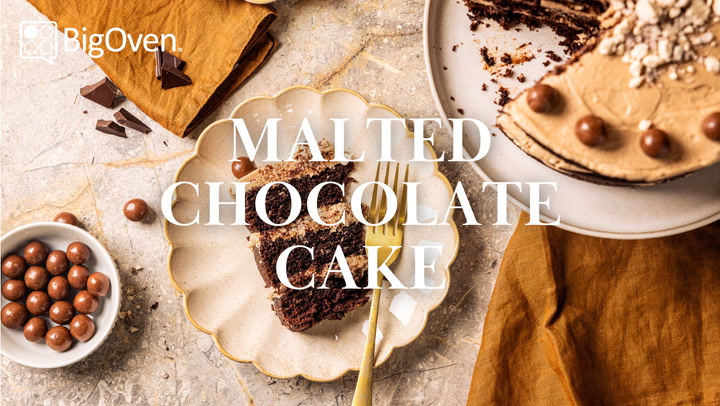


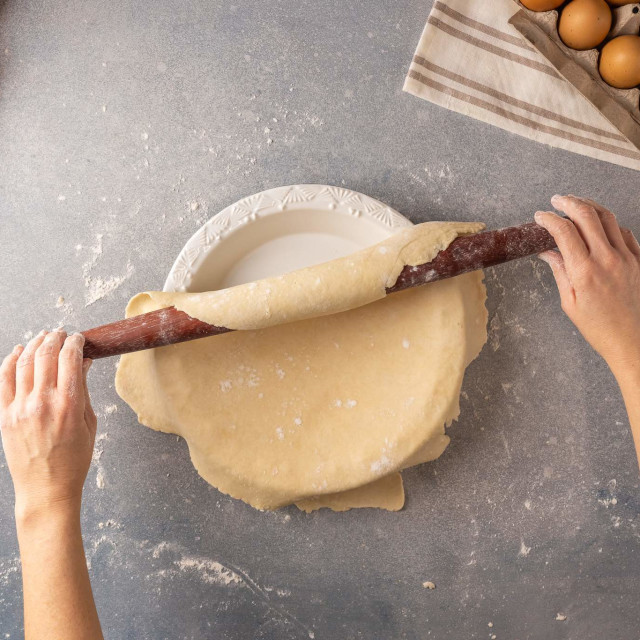


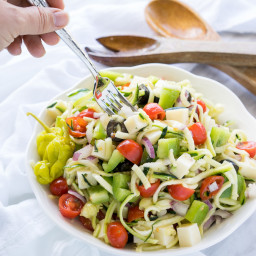
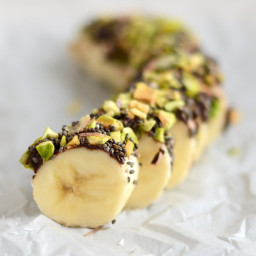
Editor's Picks
Tasty recipes catching our eye.